Basic instructions for installing and setting up BDLCAM
1) Install and configure BDLCAM
After downloading and installing, run the BDLCAM program
Configure BDLCAM for the devices you have by selecting View - View Configure Devices
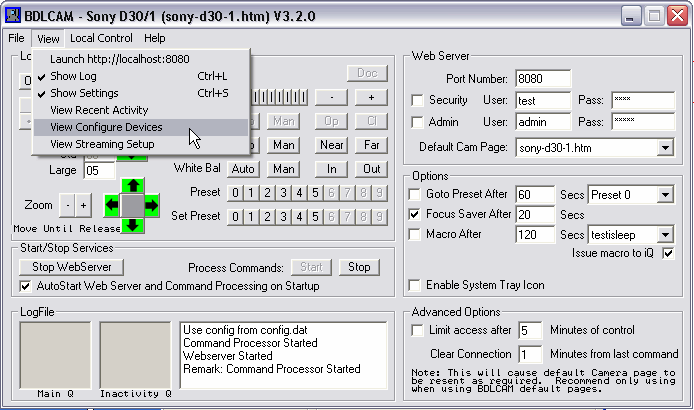
Select your camera and check the Enabled checkbox.
Click "Close" on the 'Configure Devices' window and you should
now be able to control the camera using the 'Local Camera' controls.
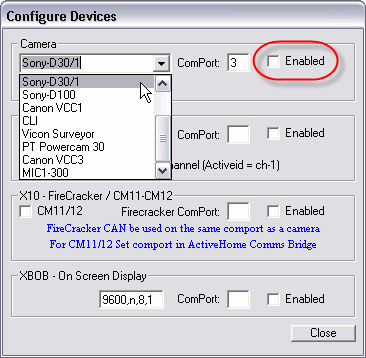
To allow remote Web control enter the port number that you want the BDLCAM
program to use and click 'Start WebServer'.
Also click the "Process Commands" "Start" button.
Note: If you what these to start automatically when BDLCAM
starts check the box below the "Start WebServer" button.
Note: A common misunderstanding is that there are actually two ports required, one for the video feed and one for the camera control. Please be sure when configuring BDLCAM to use a different port from your video streaming software.
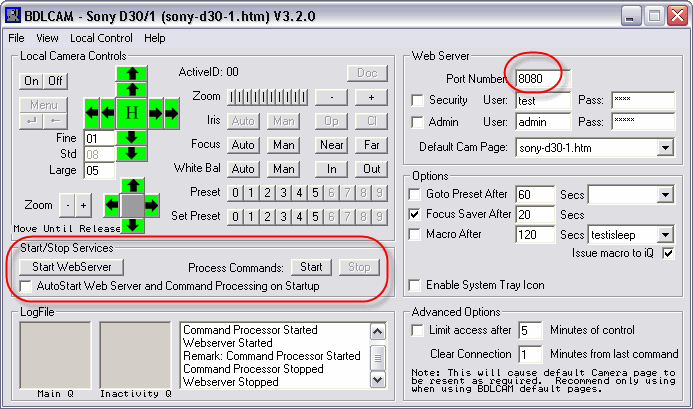
At this point you should be able to open a browser window using the View - Launch http://localhost:8080 and you should then see the a browser window with the controls.
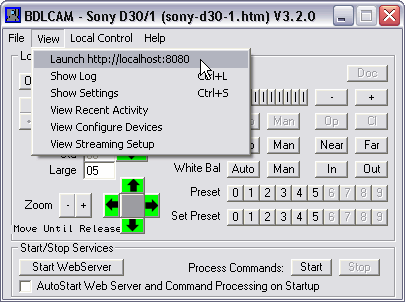
Example of the browser window is shown below.
Note: Clicking the controls should move the camera BUT the video feed you see will not be yours, we cover how to correct that next
2) Install video streaming software to take care of the video feed.
Note: A common misunderstanding is that there are actually two ports required, one for the video feed and one for the camera control. Please be sure when configuring your video streaming software to make sure you use a different port from BDLCAM.
Please refer to instructions from the supplier of your chosen software. At this point you should typically be able to see just your video feed by doing something similar to http://localhost:8080 (depending on your choice of software and your choice of port number)
3) Now, to get the webpage to show your video feed rather than mine
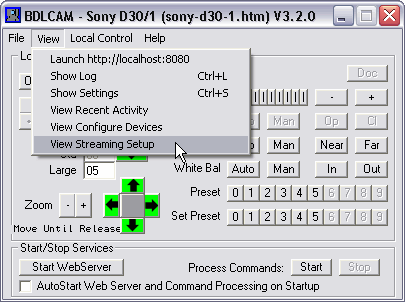
Select the appropriate file depending on what streaming software you are using
For WebcamXP v1.04.790 use webcamxp.apl
For WebcamXP PRO v1.07.080 use webcamxp-2.apl
For Active WebCam from pysoft.com use activewebcam.apl
For Webcam32 use webcam32.apl
For Ivista V3 or V4 use ivista-Device0.apl (Device1 or Device2 are for
using with ivista equipped with video switch)
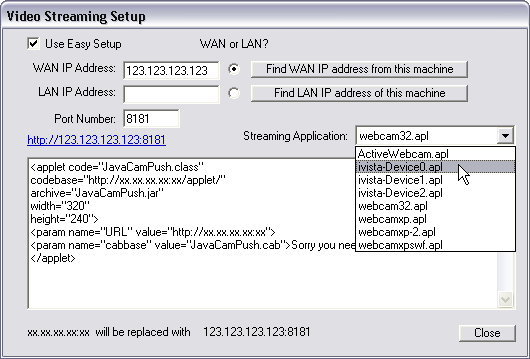
Check the "Use Easy Setup" option; this feature was added in Version 3.2 to avoid people having to edit the HTML files. If you prefer the old school method (or are just interested) take a look at the old manual instructions. Configuring for use with Ivista - Configuring for use with Active WebCam - Configuring for use with WebCamXP
Enter you WAN or LAN address/domain, or just click the appropriate button to automatically complete. Enter the port number your streaming software uses.
Now http://localhost:81 (or whatever port you have chosen) should show your video feed and allow you to control the camera. You should also be able to click on the link which appears just below the port number. If you have entered a WAN address be sure to read the next section.
4) Putting your camera on the web - Understanding port forwarding
Now assuming port forwarding is configured correctly you should be able to use
http://xxx.xxx.xxx.xxx:81 (where xxx.xxx.xxx.xxx is you external IP address, to find out your current external address visit http://www.whatismyip.com/)
5) Putting your camera on the web - Dynamic DNS services